Zoneminder is an extremely powerful open source utility which I believe can completely revolutionize the security camera market. What previously cost hundreds or thousands of dollars to build and implement and usually required hiring external installers and support people can now be done with free software and hardware you may already own. I have used this software for the last year or so, and have found it remarkably straightforward to use.
Like most open source software it can be tricky to get configured and running at first. So I have put together this document on how I configured my zoneminder system at home. This isn’t exactly an installation guide, since your install will likely be very different from mine, but consider this more of a planning guide. It can be used to help you plan and implement your own zoneminder based setup.
![]()
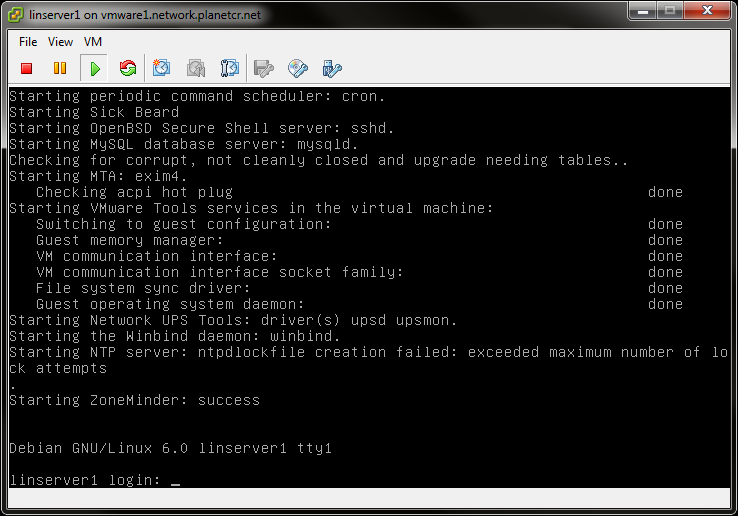
Step 1. Install Debian Linux 6 (Squeeze)
I won’t touch on all the details here, but you will need a linux computer to run zoneminder on. Most of the major flavors of Linux are supported. Use whatever you are familar with and feel like you will be able to fix it when things go wrong. Since I have always used Debian since first learning Linux, that’s where I feel at home. I opted to configure a VM within my VMWare ESXi server for this task, but you could use a laptop, old desktop, or even an existing linux computer. Download Debian and Debian Install Guide
Step 2. Install ZoneMinder
This is a bit beyond the scope of this document. You’ll find plenty of good documentation exists for installation of Zoneminder in to any of the common Linux flavors. Most linux vendors even have zoneminder prepackaged in their repositories. Since I opted to use Debian, I followed the official Zoneminder Install Guide
Step 3. Select your cameras and configure
Here is where you need to make some choices. What camera(s) do you plan to use and how do you plan to connect them? Zoneminder supports both local cameras (connected to USB) and remote cameras (either network based, or cameras connected to a PC somewhere else). In my own configuration I opted to use remote cameras, because of the distances involved.
The camera selection is pretty wide open, there are lots of models to choose from. For USB based cameras the important factor is to verify the camera is Linux compatible. Documentation and discussion forums online are useful to verify someone has done it before, and this will make things much simpler to configure. Pretty much any network based camera will work (wifi or wired) as long as it supports viewing a single frame (sometimes called static jpeg).
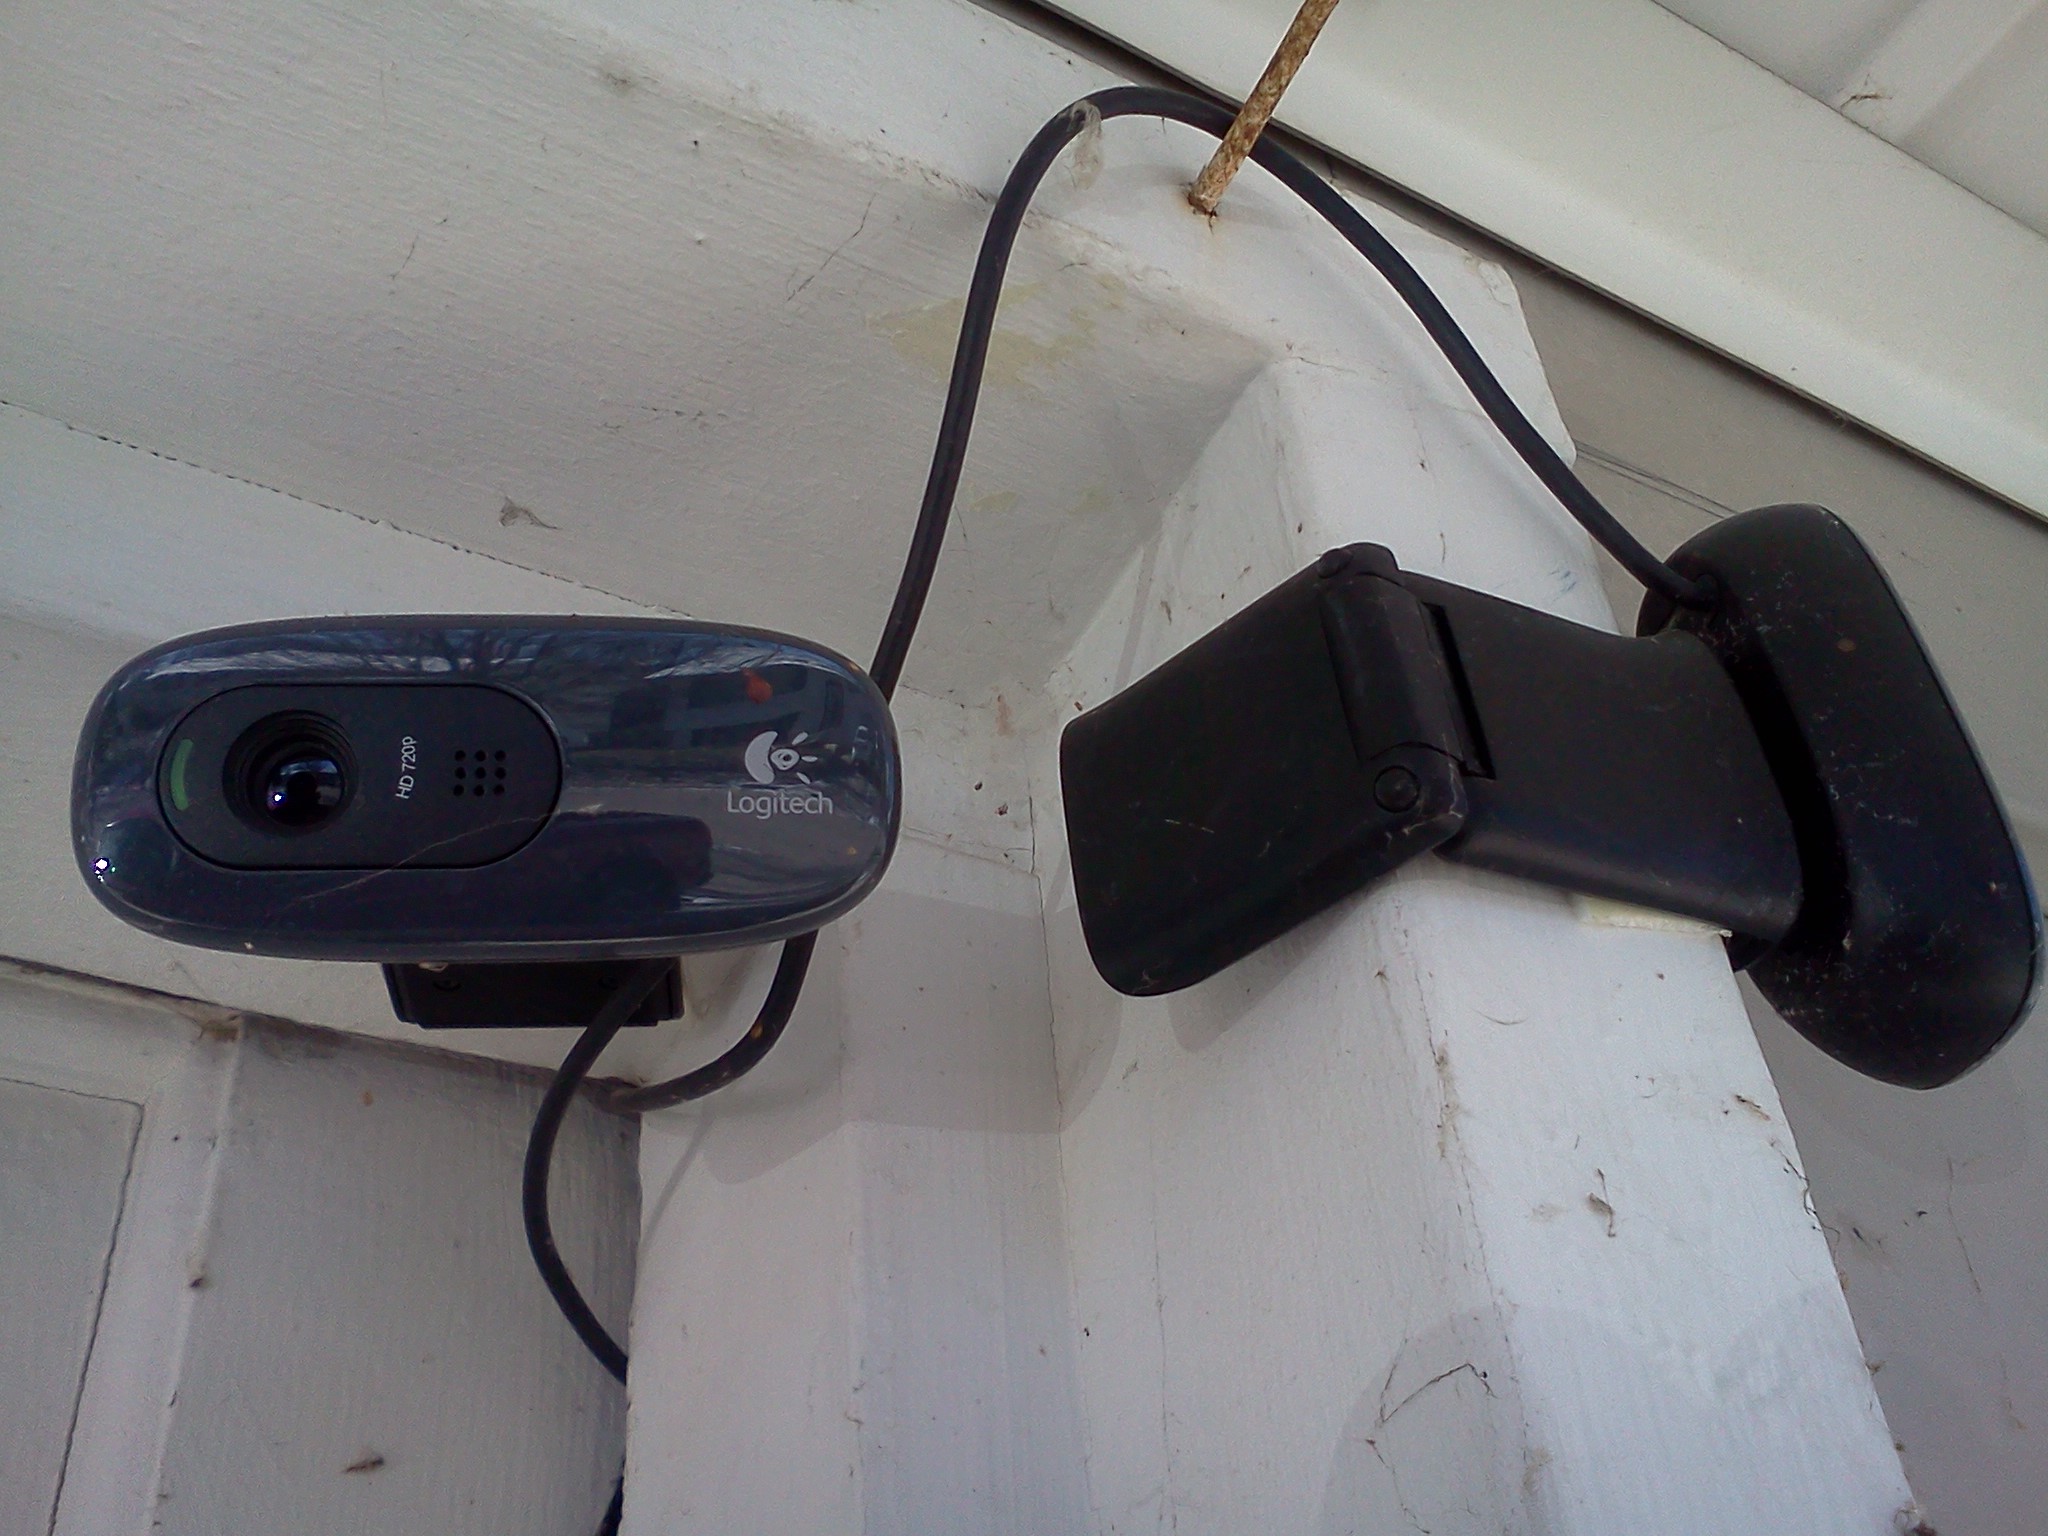
In my setup, I opted for Logitech USB cameras due to their high resolution (720p) coupled with their low cost and their good reviews. Left exposed to the elements these will eventually need replaced, but at $25 each, they have so far lasted almost a year. Cold weather double sided tape has been used to adhere them to the opening, and they’re protected from direct contact with the elements by being behind an eve.
As mentioned earlier, USB cameras can either be connected directly to the Zoneminder software, or to a remote PC. I needed to use a remote PC, so I re-purposed an old ALIX system; basically this is an entire computer on a chip. Many people use an old laptop or something like that. If you opt to go that route, you may find that mjpg-streamer is extremely useful to provide a method to connect to the camera.
Step 4. Log in to zoneminder and configure the cameras
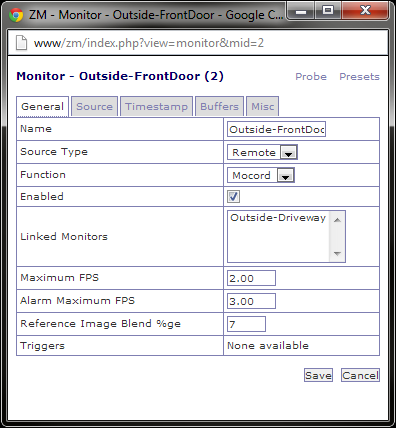
After you get everything connected, login to Zoneminder and configure the cameras. You can see in this example, I have selected the source type of Remote thereby telling Zoneminder to pull video from a remote PC. The other options here are local or file — telling zoneminder to pull from a local camera, or a file (perhaps pushed through another method).
Next I have configured the function setting to Mocord. This option is designed to record everything, but still perform motion analysis and tagging. This requires a lot of CPU, but by far is the most useful. Other options are none, monitor, modetect, and record. None turns the monitor off, modetect only records when motion is detected, and record films everything but doesn’t tag motion at all.
Finally, I have set some realistic frames per second here, due to the fact these are 720p cameras, I have 2 of them, and they’re connected over 802.11g at some distance, I have opted to limit this to 2 FPS. This is sufficient to see everything, but also saves on disk space. I wouldn’t recommend anything above about 2-5 in my opinion.
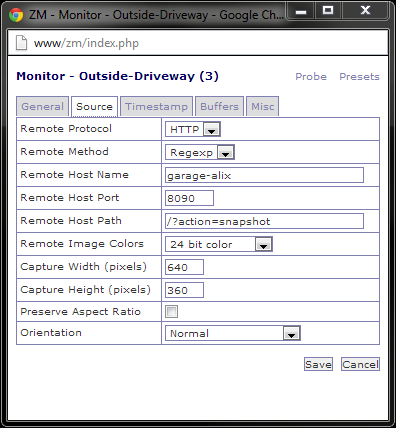
Next, navigate to the source tab, this is where we actually tell zoneminder how to interface with the camera. Depending on the source you have configured you may find different fields here. Here is how I have this configured for remote.
First the protocol, mjpg-streamer uses HTTP. Method is regexp. The hostname will allow you to enter the IP or host name of the remote PC that the camera is connected to. Port is self explanatory along with host path.
After this point, it is very important to know exactly what is being provided by your camera. For instance, if you put the wrong resolution, it won’t just crop the image, it will fail. So you have to know the exact size. I scale the images in mjpg-streamer (otherwise there is not enough bandwidth to transfer) so I am pulling the scaled size.
Orientation allows you to select the angle at which the camera is mounted — for instance 90 degrees counter clockwise.
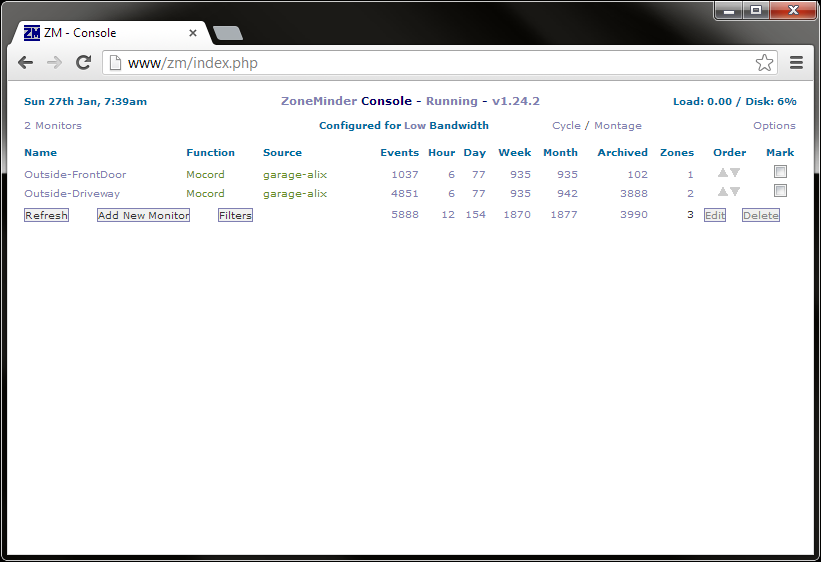 Click save and zoneminder will add the camera. Once all the cameras are added, you will want to let it record for awhile to make sure the kinks are worked out. In the overview, the source will be red if zoneminder can’t connect, green if it is connected, so always watch that. After a few hours you should have sufficient time to play with zoneminder and learn some of it’s more powerful features.