With the warm weather I took a few days to fix up the ham radio install in my Prius.
Equipment:
Radio: Yeasu FT7900R 50w VHF / 40w UHF Radio
Antenna: Diamond NR770NMO (for trips) and/or Comet SS-460NMO (for urban)
Mount: Diamond K412CNMO
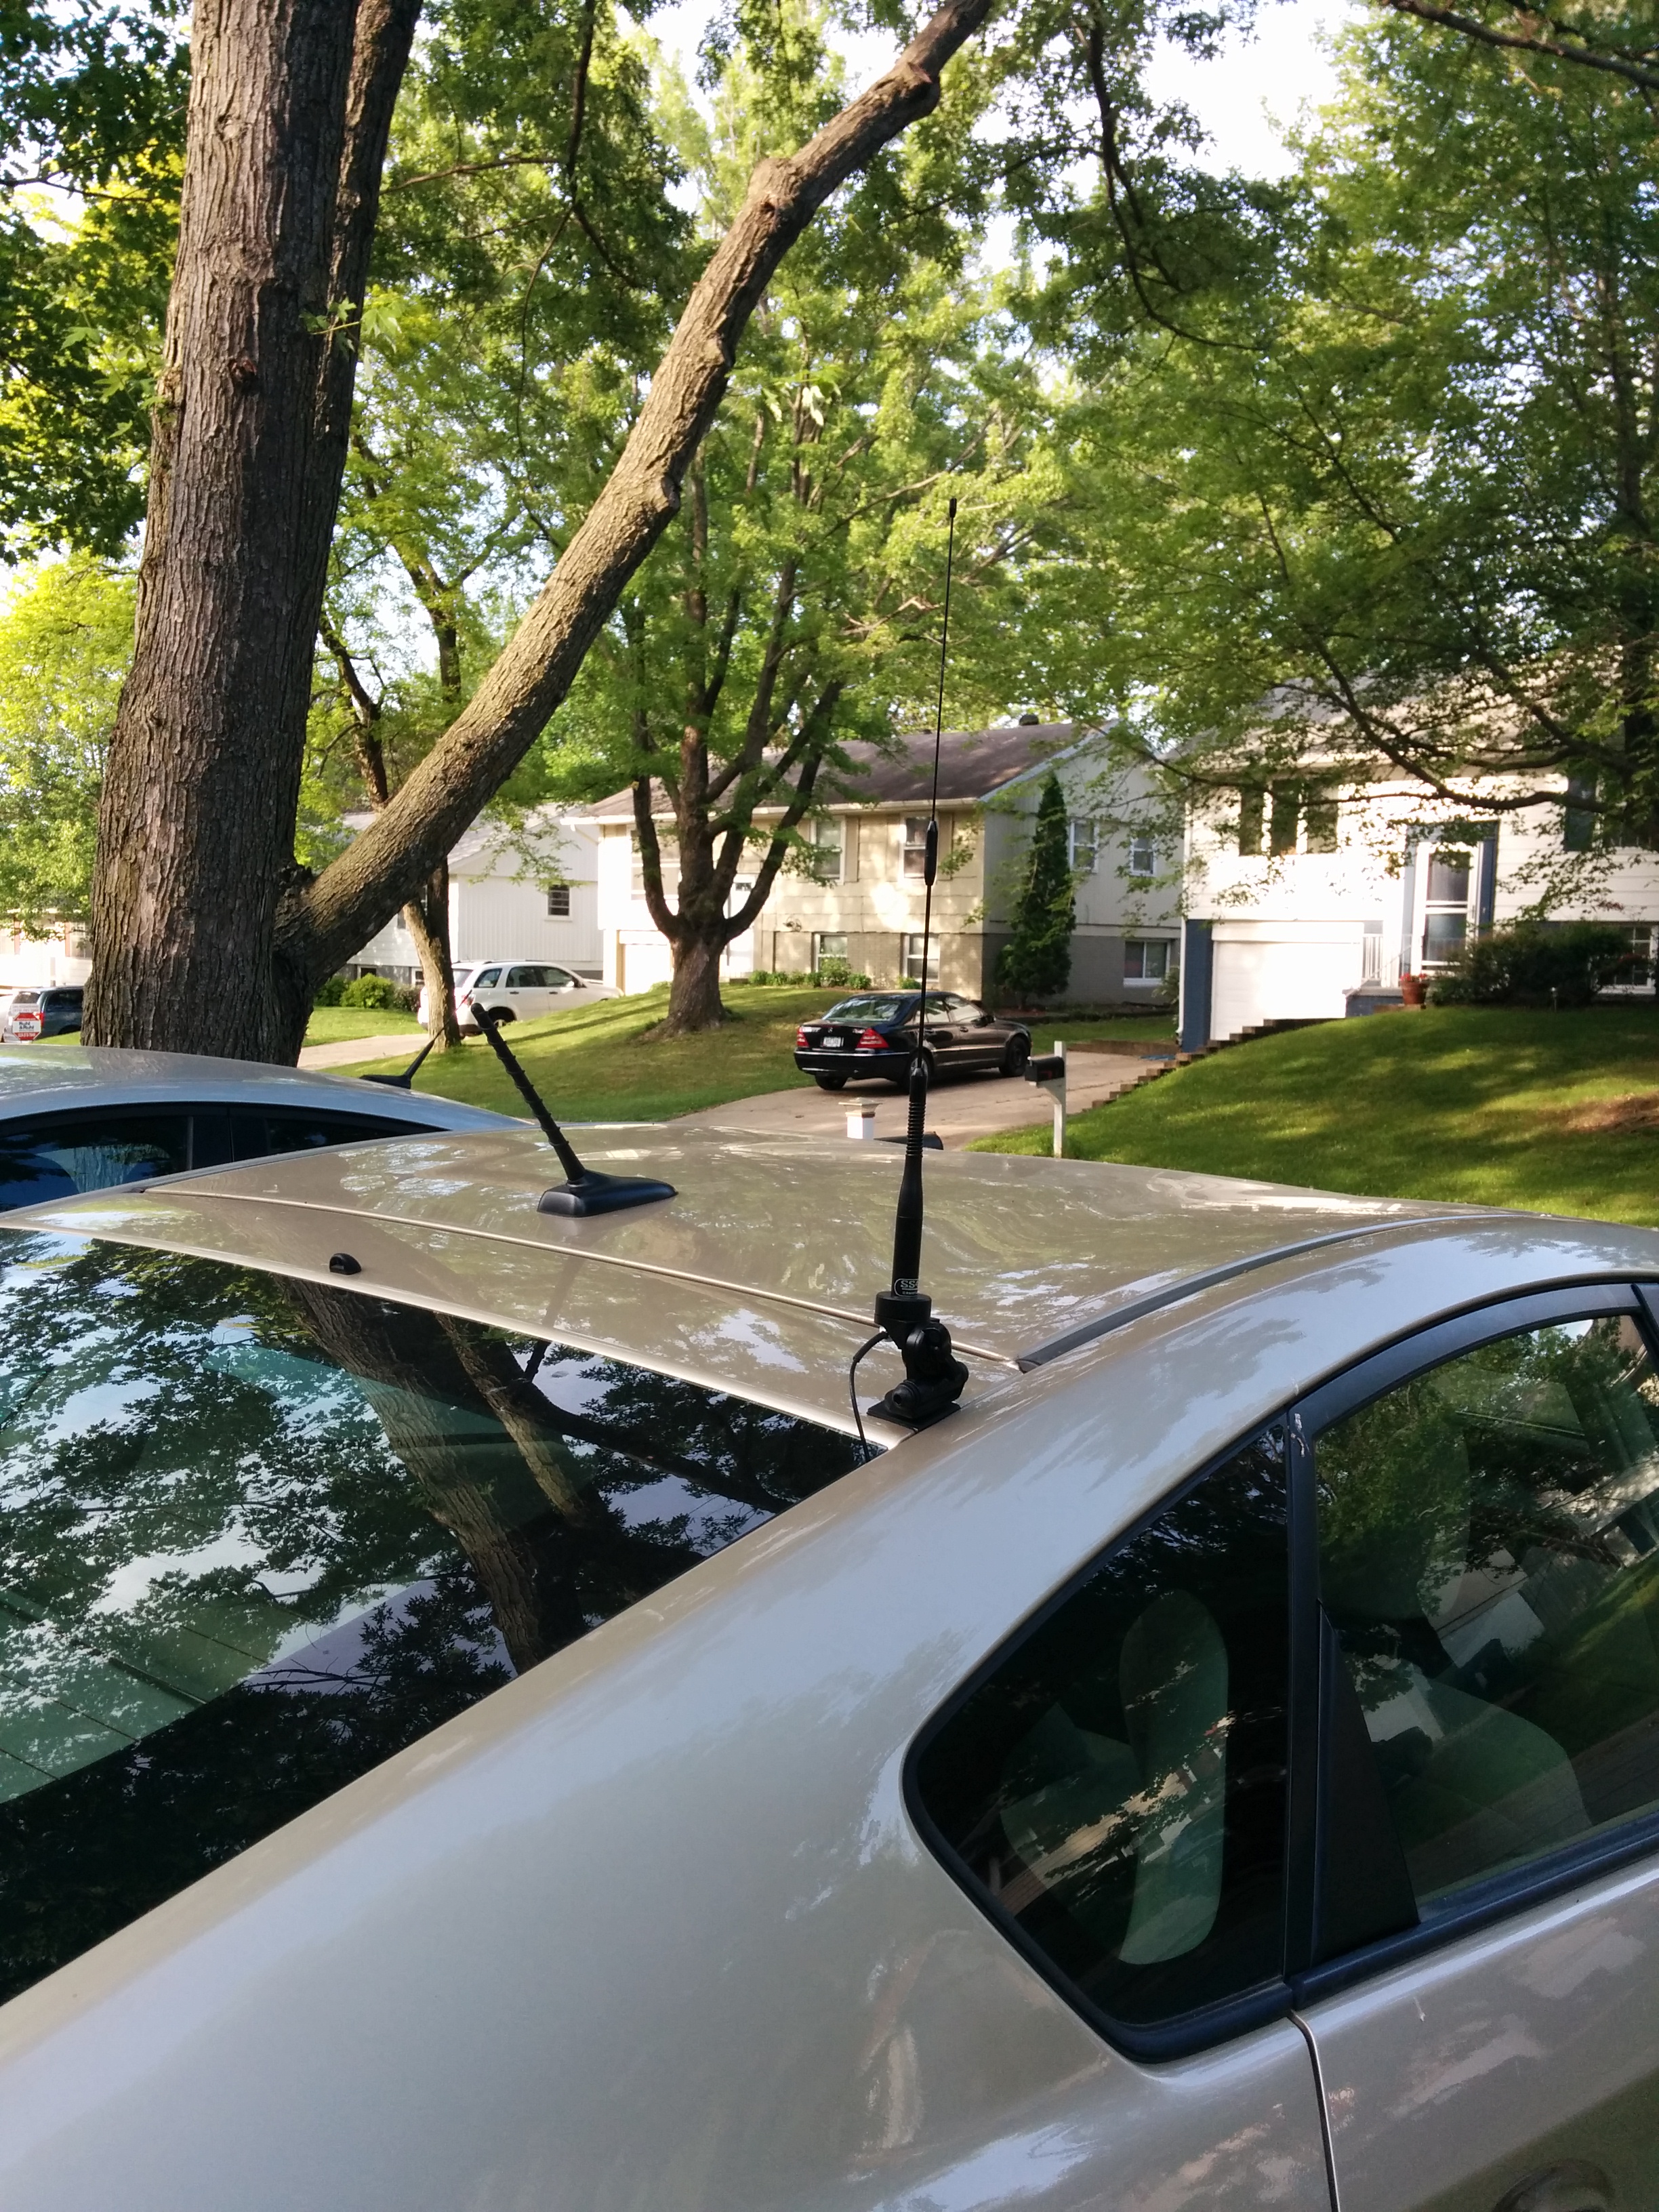
Hatch Antenna Mount
The Prius is a fairly straightforward car to install a radio in. Obviously as a hatch back, a special hatch antenna mount must be purchased. I opted for the K412 from Diamond as it adjustable on 3 axis, so I was certain I could get the antenna exactly vertical. The manual suggests this mount is good for antennas up to 42″ in height. The mount attaches to the car by the use of two “set” screws. Make sure to read the instructions for the antennas you are using. If your antenna requires a ground plane, make sure that the set screws make it through the paint and are touching the metal of the car chassis itself to form an electrical connection to ground.
As the Prius has a low voltage (12v) battery in the rear compartment, it seemed best to mount the radio in the rear. The Prius makes this easy by the inclusion of a special compartmentalized tray under the floor liner in the hatch.
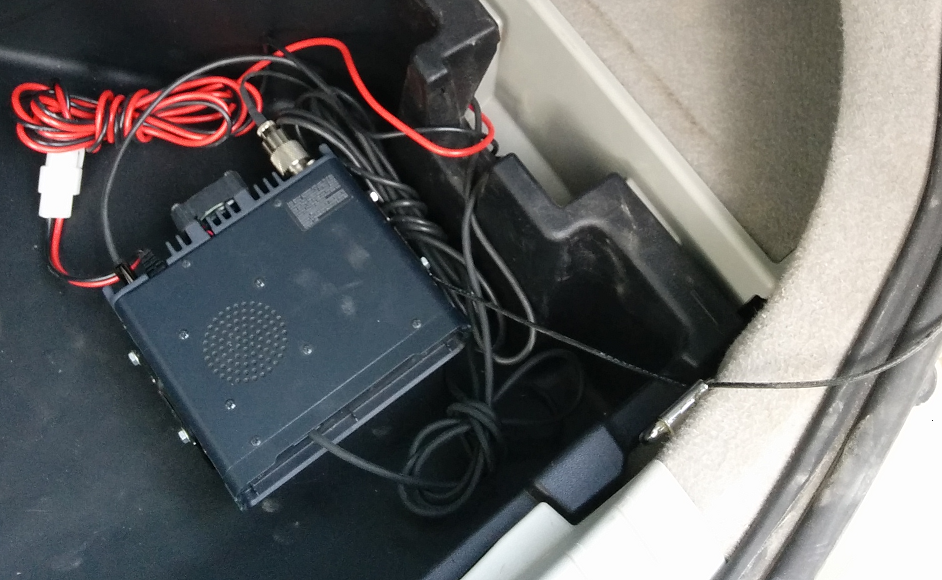
FT7900R mounted in cargo area
Once the carpet is lifted up in the hatch area, you’ll find two thumbscrews release the floor and give way to a cargo hold area. This plastic bin is removable (it sits above the spare tire) but it makes a perfect place for a ham radio. Two small holes in the liner to mount the radio stand, and the radio was mounted. The Prius low-voltage (12v) battery is to the right, underneath the plastic and carpet area. The 7900R supports a detachable head, which required me to run a 6 conductor wire from the rear of the car to the front. Additionally, a 3.5mm “headphone” wire was needed to carry audio from the radio to a speaker up front. This was easily accomplished by carefully popping the plastic trim on the rear passenger, and the “shotgun” passenger seats, and running both through this channel; then removing the glovebox and the molding around the radio and gear shift to run the wire up to the top of the dashboard.
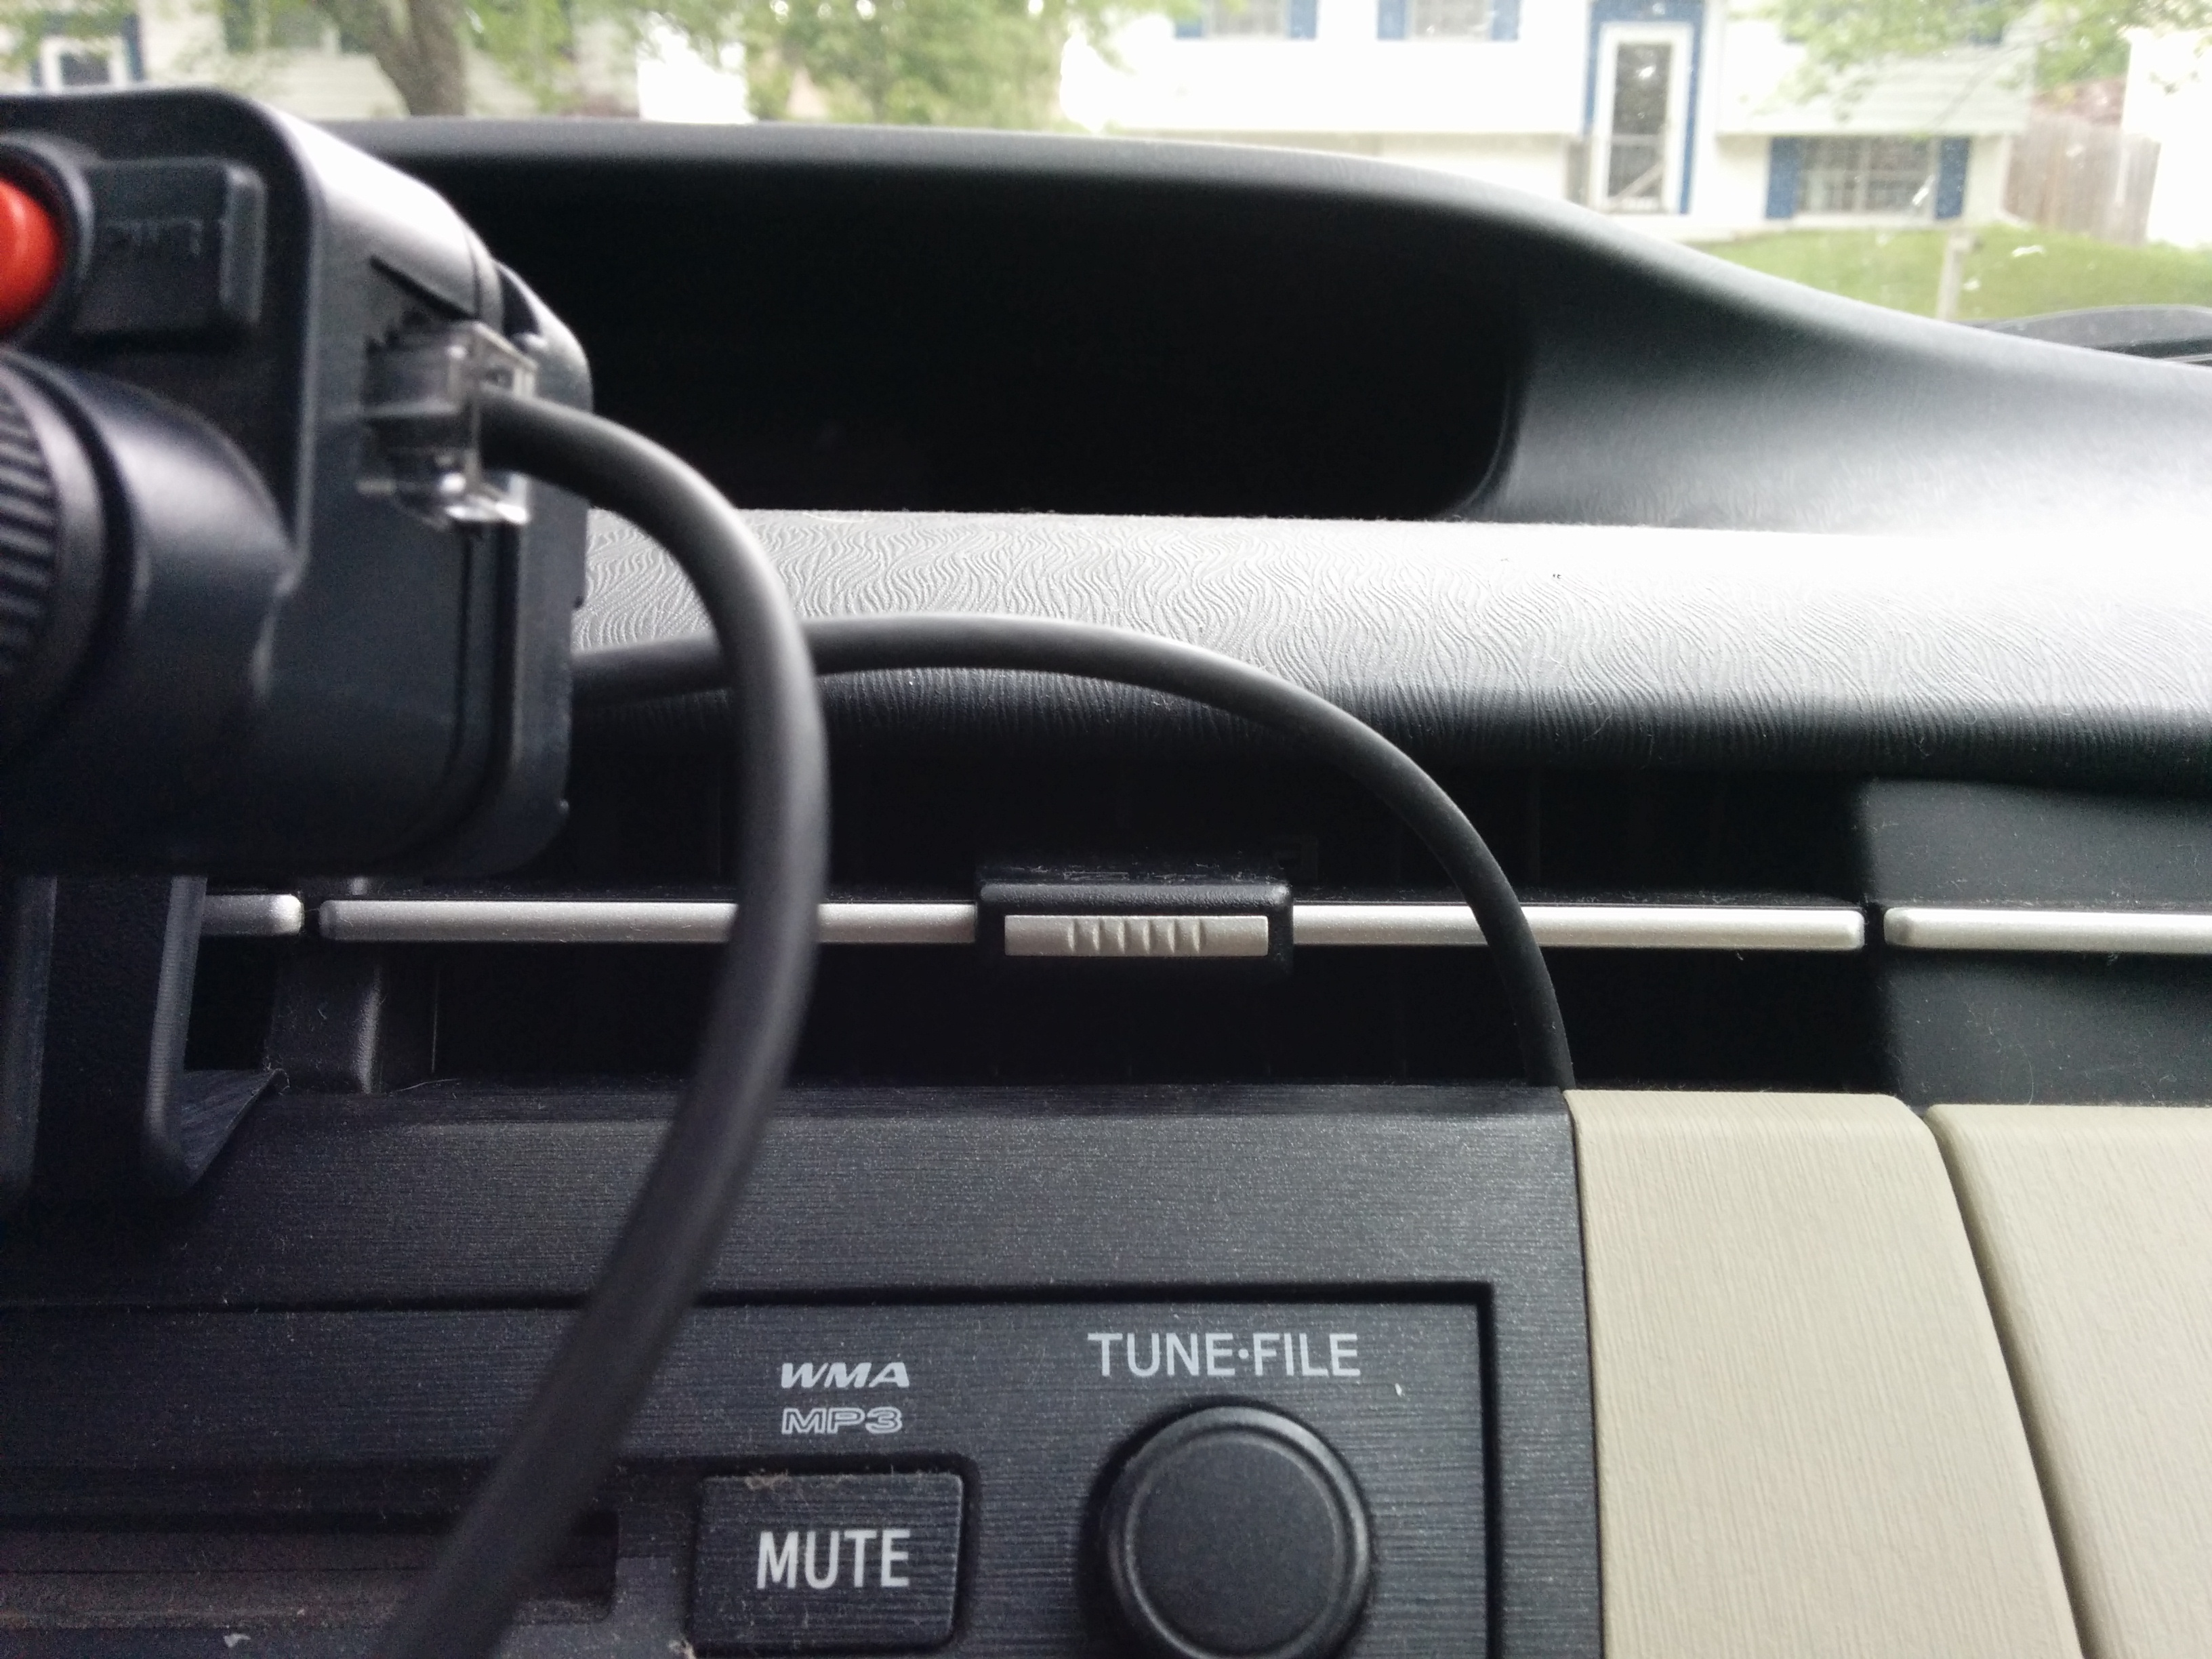
6-conductor cable emerges from behind the dashboard
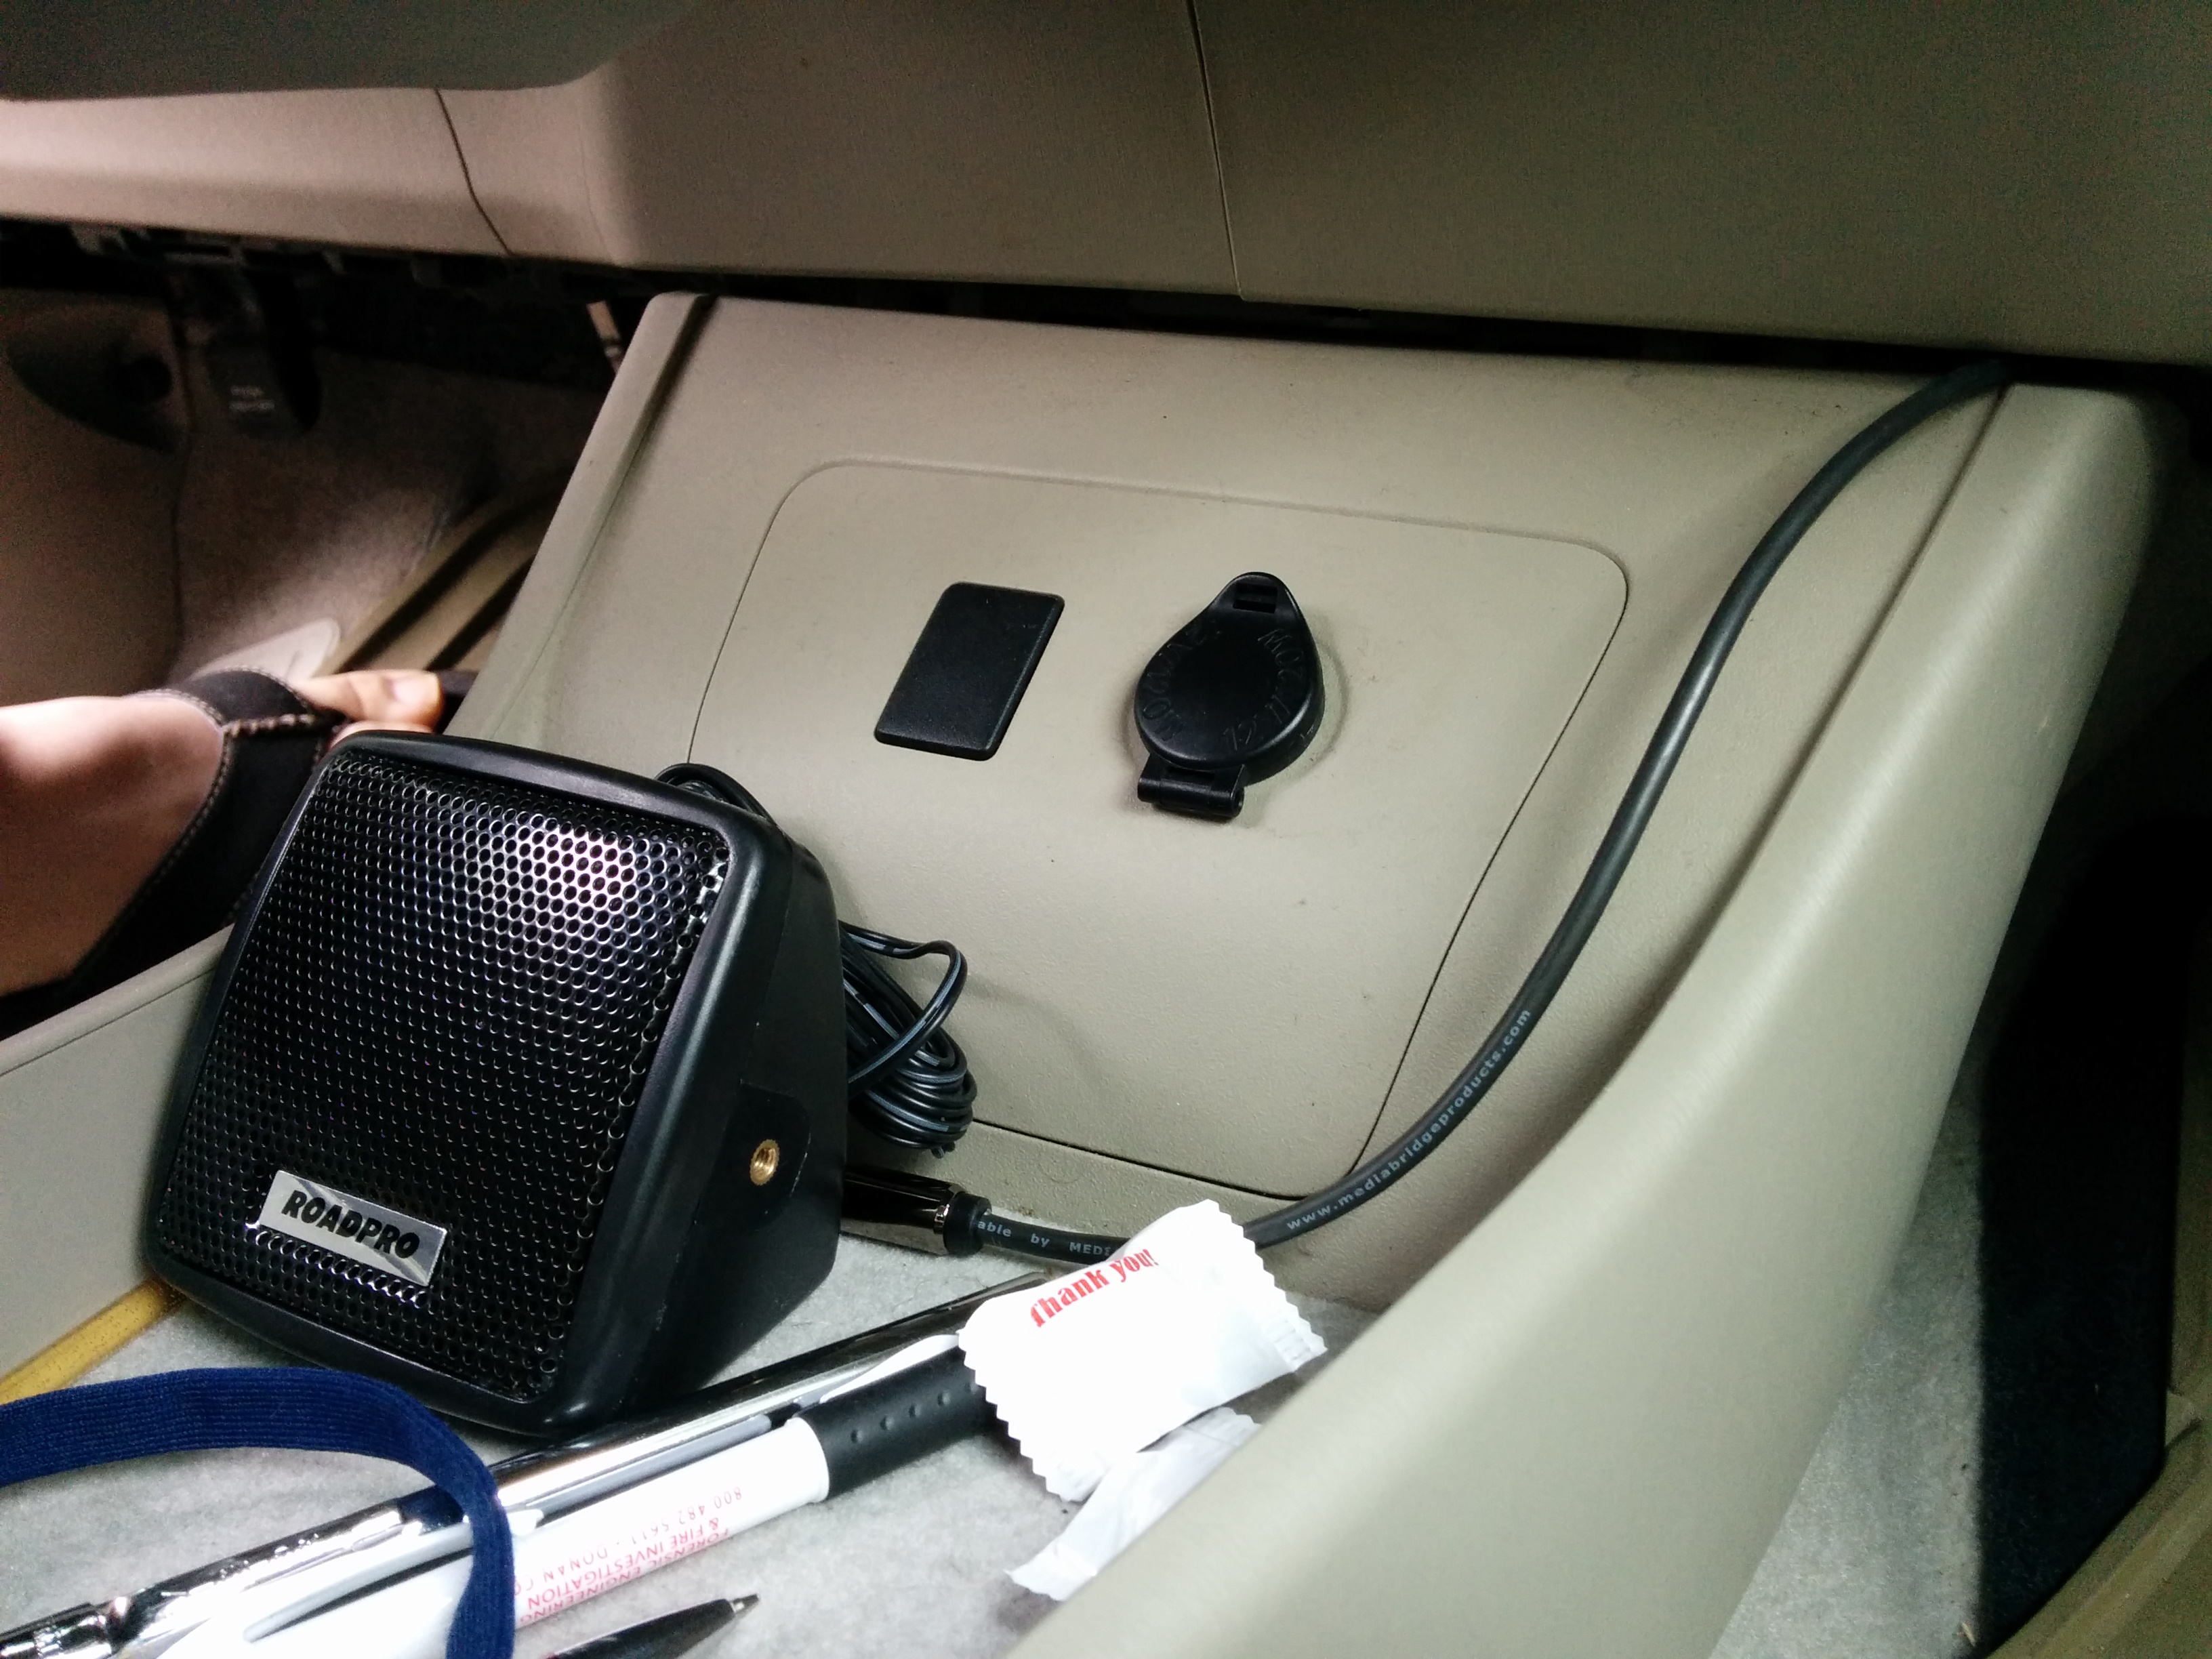
Roadpro speaker mounted under the gear shift with Velcro.
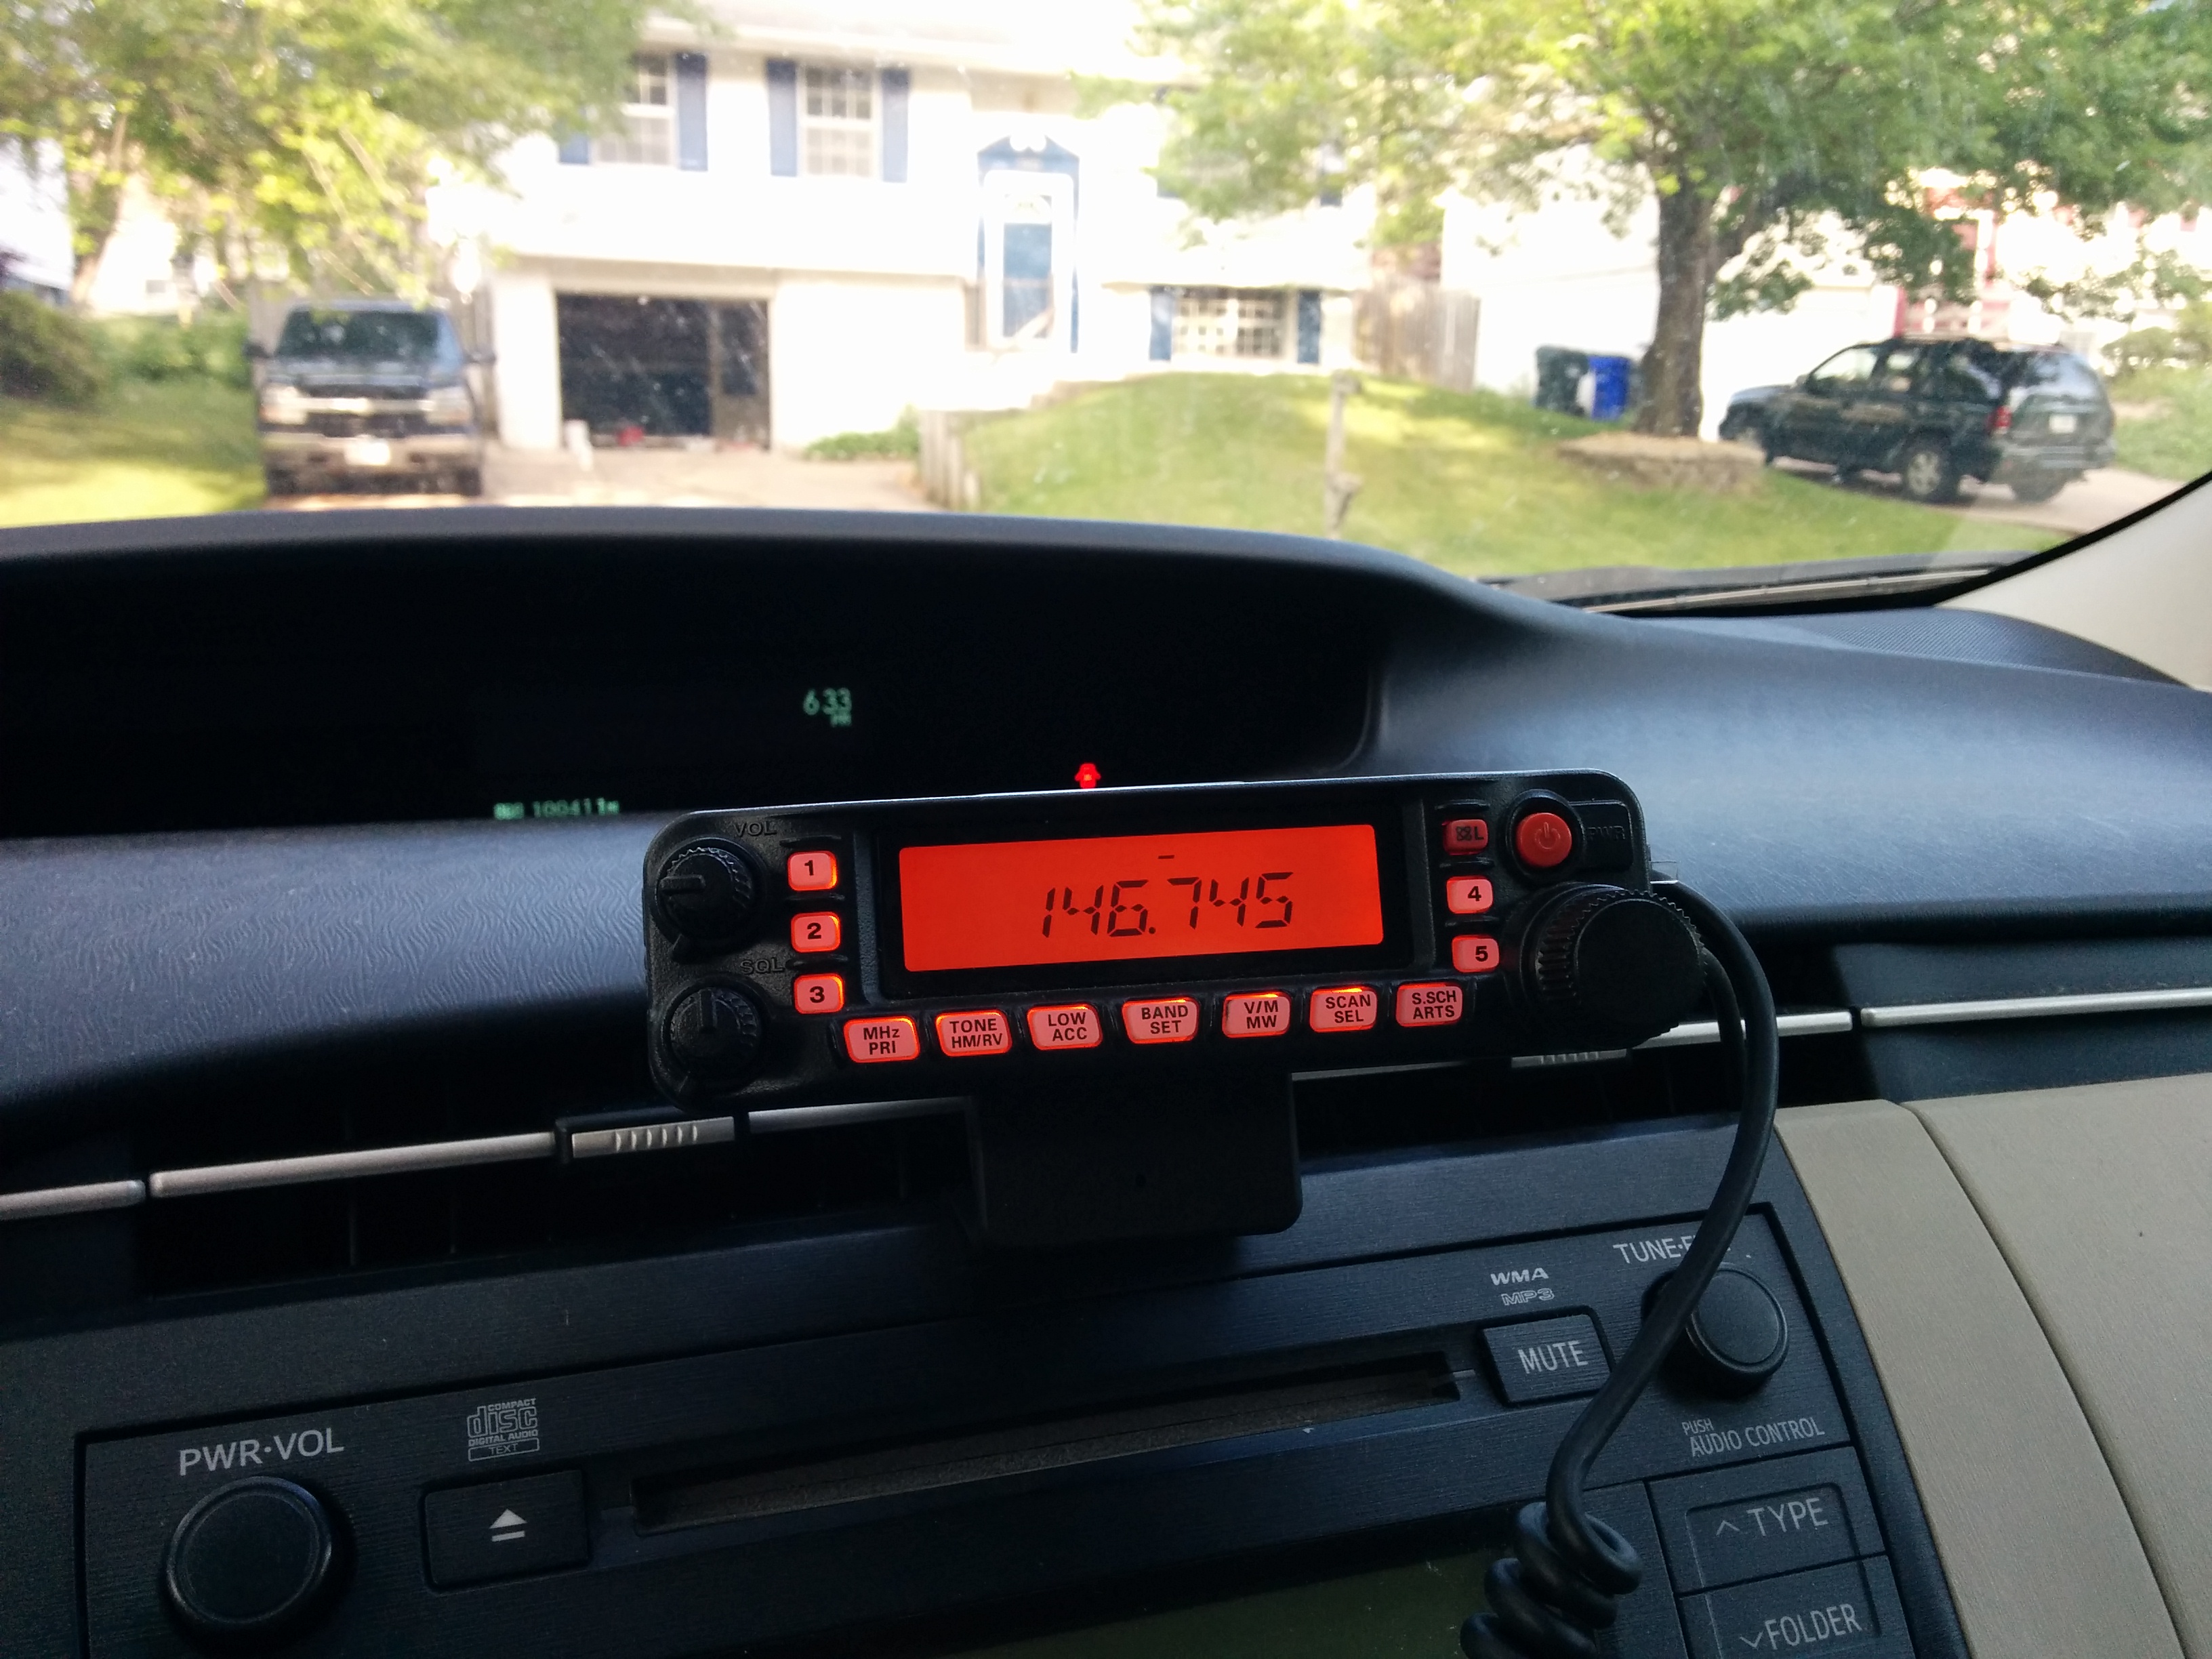
I attached the control head of the radio with the ProClip USA Prius Gen 3 Center Mount. This mount is engineered specifically to fit in a small lip above and below the vent it does not attach to the vent itself. Because of this it is extremely stable and doesn’t risk breaking the fins inside the vent like other vent clips do. After installation a trip was in order to determine if the radio works. On a recent trip to the Quad Cities, I was able to hit repeaters in Cedar Rapids from the I80 truck stop, repeaters in Muscatine from about 10 miles east of Iowa City, and worked a station on the Moline, IL repeater for quite a few miles into Iowa.
Stay tuned, in the coming weeks I will show you a great circuit to protect the low capacity low-voltage battery in the Prius.