Replacing the fill valve on your commode is a project that anyone can undertake and complete in an afternoon.
For this project, I replaced the original fill valve and flapper, on my Eljer Patriot. The old flapper leaked, causing the fill valve to run constantly. Also, water was runing constantly down the overflow tube and was wasted. I also noticed that the bowl fill hose was broken and the toilet in general was not flushing correctly.
In the course of the repair, I opted to replace the shutoff valve as well; with a quarter turn shutoff — that will give me the option to quickly turn the water off in an emergency. Finally, the throne needed a new seat, and I replaced that as well.
Tools Required:
Pipe Wrench
Crescent Wrench
Screw Driver
Towels
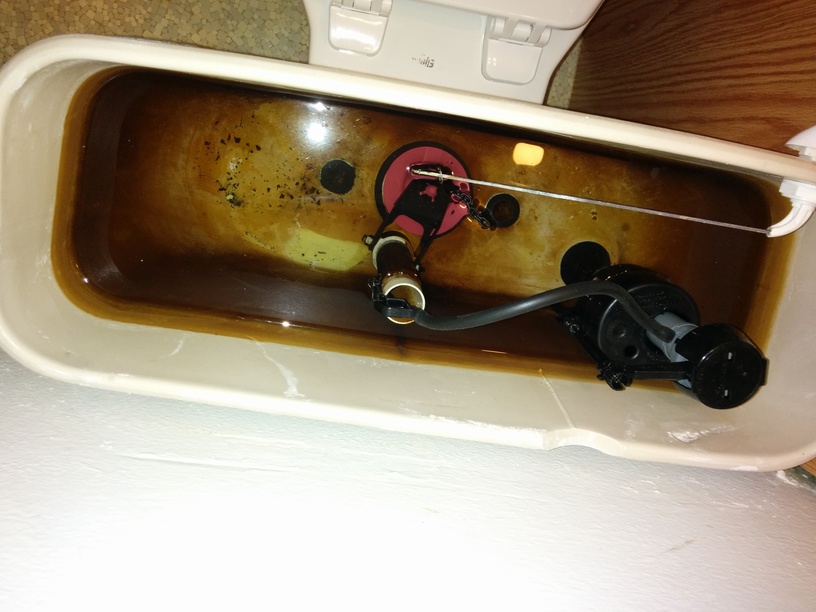
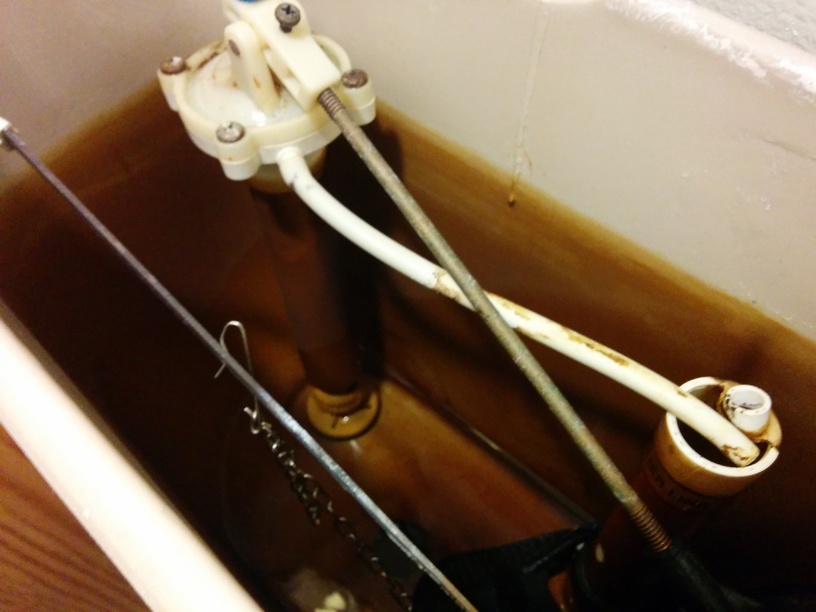
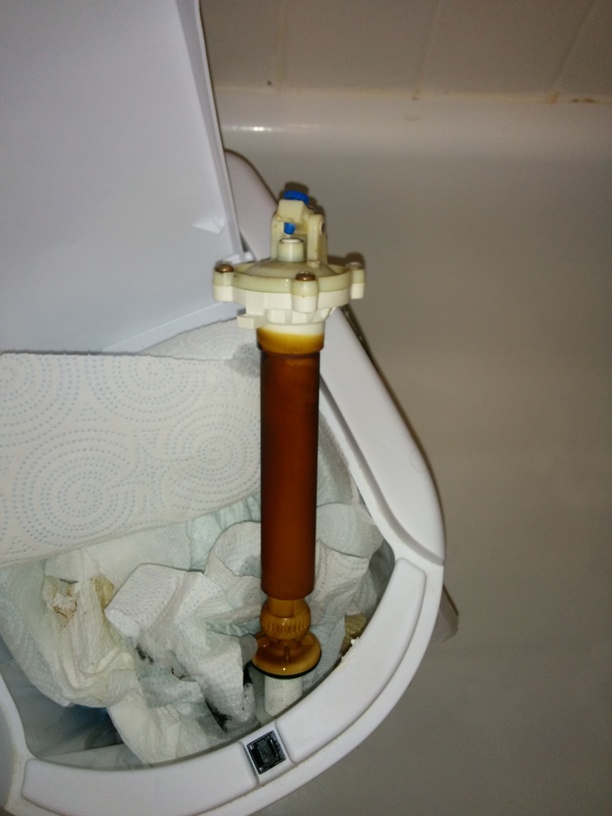
Here’s the old fill valve. You can see it’s the old type with the float arm. This will be replaced by one with an integrated float.
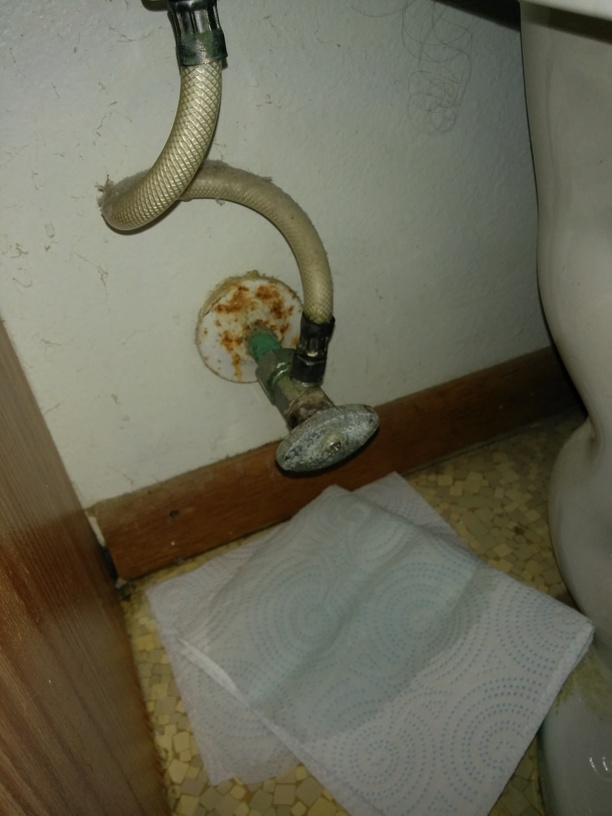
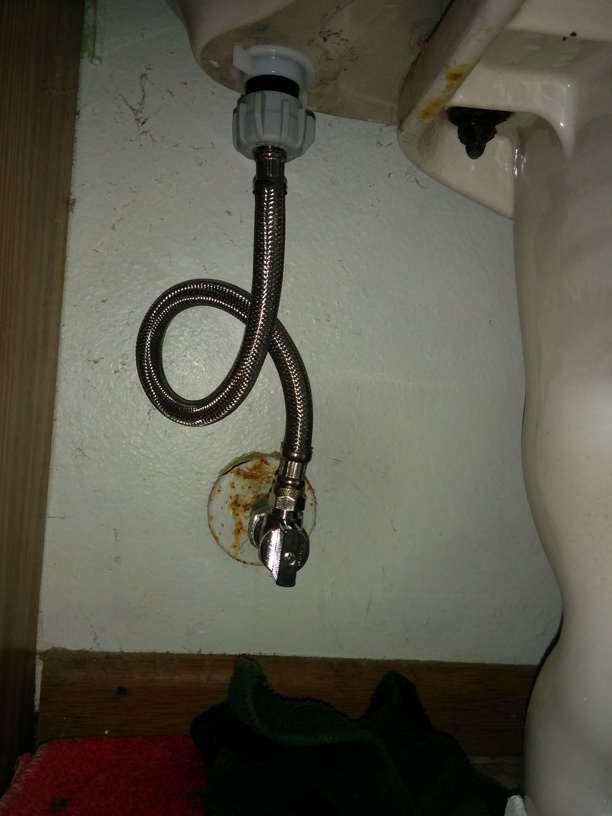
This is the old water line and shutoff…
First things first, I shut off the water, and flushed the toilet. Then I used a sponge and rag to drain what water was left in the tank. Finally, I removed the seat and cleaned the bowl (since I was going to be getting up close and personal with this toilet as it is very cramped quarters)
With everything removed, it was time to drive to Menards and pick up the new items.
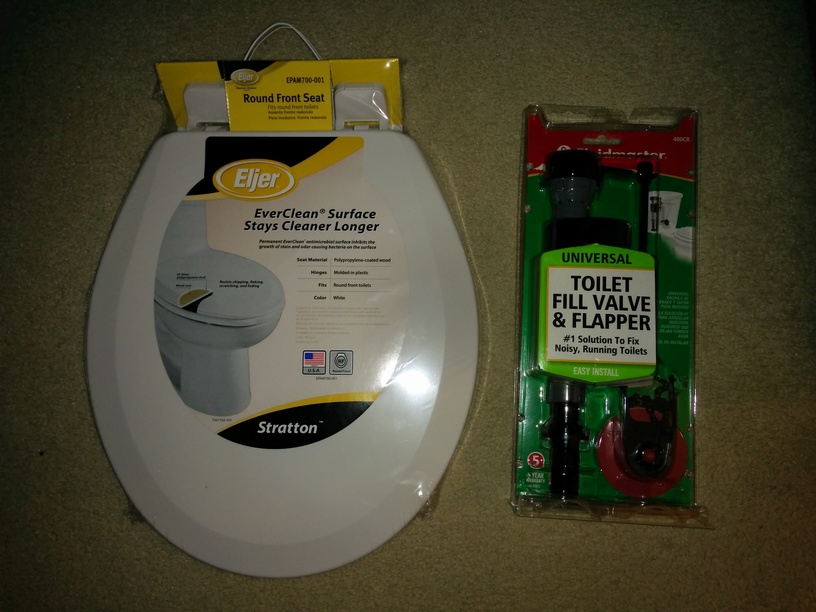
Nothing too fancy, just a new seat and the Fluidmaster Universal toilet valve and flapper.
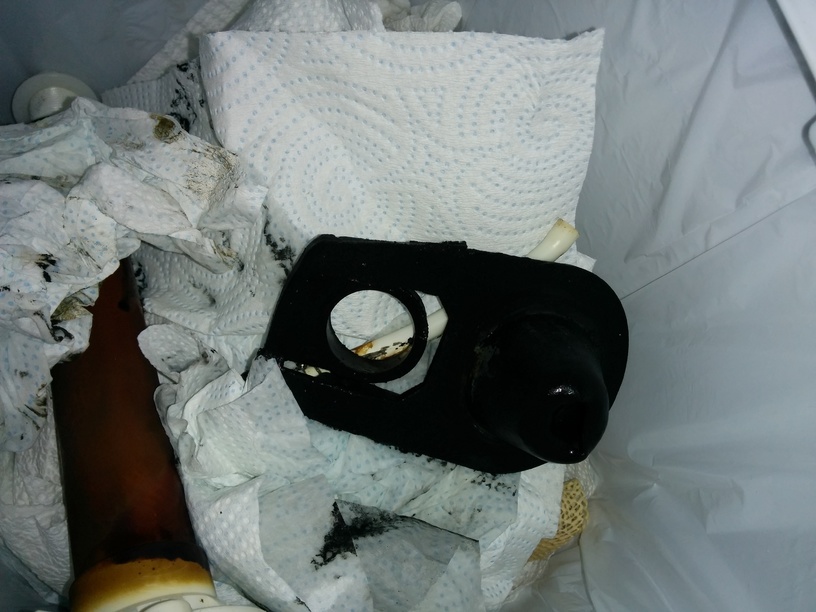
Using my hands I unscrewed the water line from the fill valve. They should be only hand tightened. Once the line was removed, I unscrewed the valve from the bowl. Here’s the old valve, removed from the toilet.
I also removed the old flapper, which disintegrated as I grabbed it. It no longer held air which meant you needed to hold the flush down for about 10 seconds to get it to clear the bowl.
I then adjusted the height of the new flapper by twisting (following the instructions) and placed it in the toilet. I hand tightened the fill valve to the bowl with the included nut.
Then, I used a pipe wrench and a crescent wrench to remove the old shutoff valve, and installed a new 1/4 one-quarter turn shutoff and braided waterline.
With the new water valve installed, I used the crescent wrench to tighten the water line to the shutoff, and hand tightened to the fill valve. After turning the water back on, there was no drips.
I followed the fill valve instructions to adjust the water fill height, and the toilet is ready for another 15-20 years of operation!